In the gallery you can get some visual impressions of our project.
We have already applied the planned drilling pattern for the lights and rivets to a shelf as an example. The two outer holes are for the rivet connection, the 3 middle ones are each for an LED.
These additional windows open when you click on Swap or Swap in the window at the top. Borrowing or returning changes the current quantity by the specified number of items. Disposing or adding changes the current and also the maximum quantity in the database.
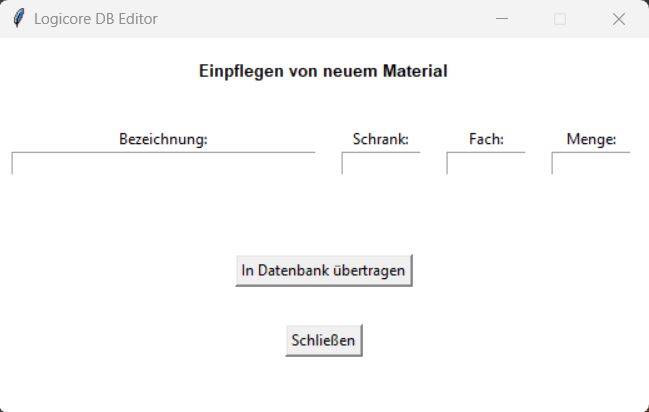
If new material is purchased, it can be added using an additional application that will only be accessible to trained people.
The first drills for the LEDs were a bit uneven since we had to mark them by hand, so a drilling template should be made.
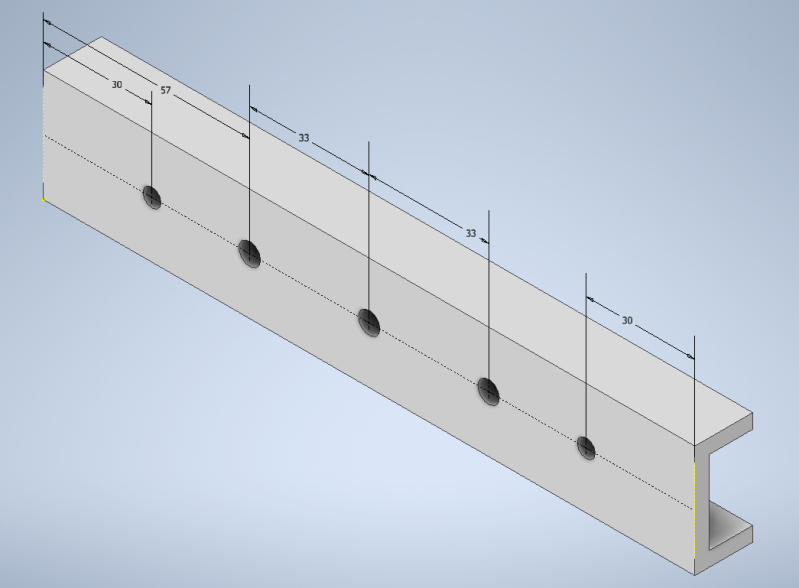
A representation of the CAD for the drilling template. This can be easily placed on the shelf, pushed to the left stop, and drilled cleanly.
Now all the drillings in the selected cabinets are straight. In this picture, the brackets for the aluminum profiles have already been riveted.
The plastic cover serves as a holder for the aluminum profile, which will later be snapped onto the back.
The large 6mm holes are intended as guides for the cables. This allows the cables to be introduced space-efficiently from the back.


Create Your Own Website With Webador